Accrochage

How to install a picture rail? The complete guide for a simple and durable mounting

Comment installer une cimaise ? Le guide complet pour une fixation simple et durable

Installing a picture rail is an ideal solution for hanging pictures without drilling into your walls every time you redecorate. This hanging system, also known as a track, allows you to create an elegant display while preserving the integrity of the wall.

Picture rails are particularly popular for their practicality: they allow you to easily hang pictures, paintings, or frames using adjustable hooks, clips, and cables.

In this comprehensive guide, discover how to install a picture rail, choose the right supports, achieve good wall mounting, and successfully complete your DIY project for a durable installation.

What is a dado rail?

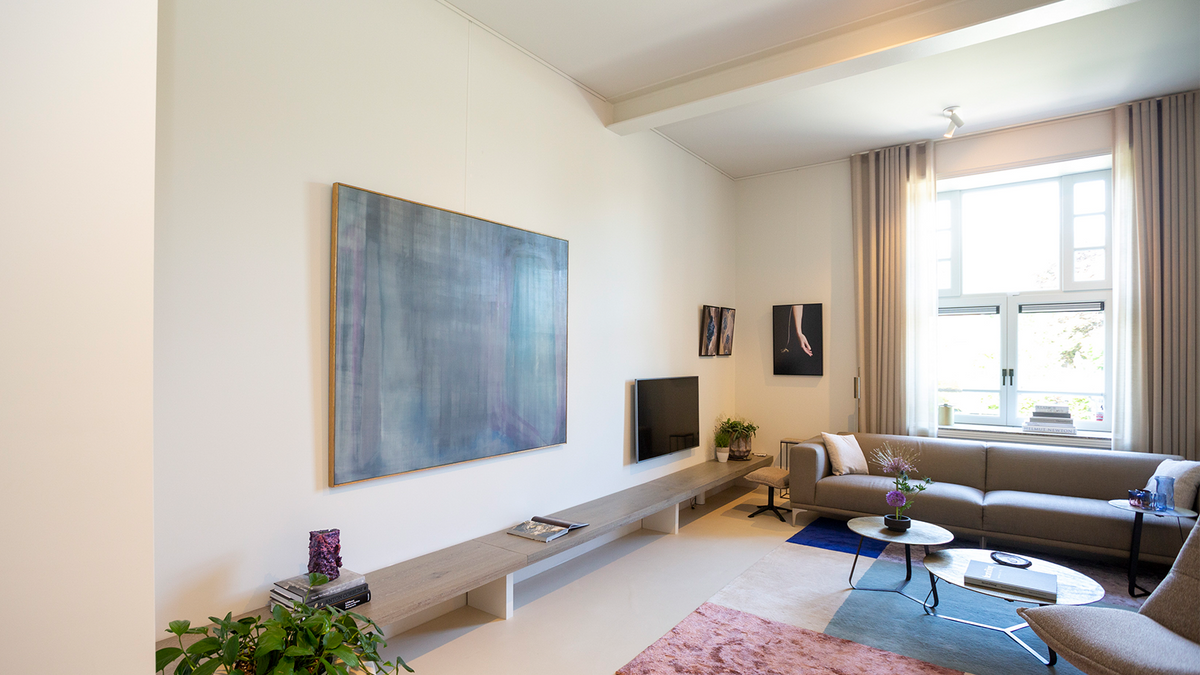
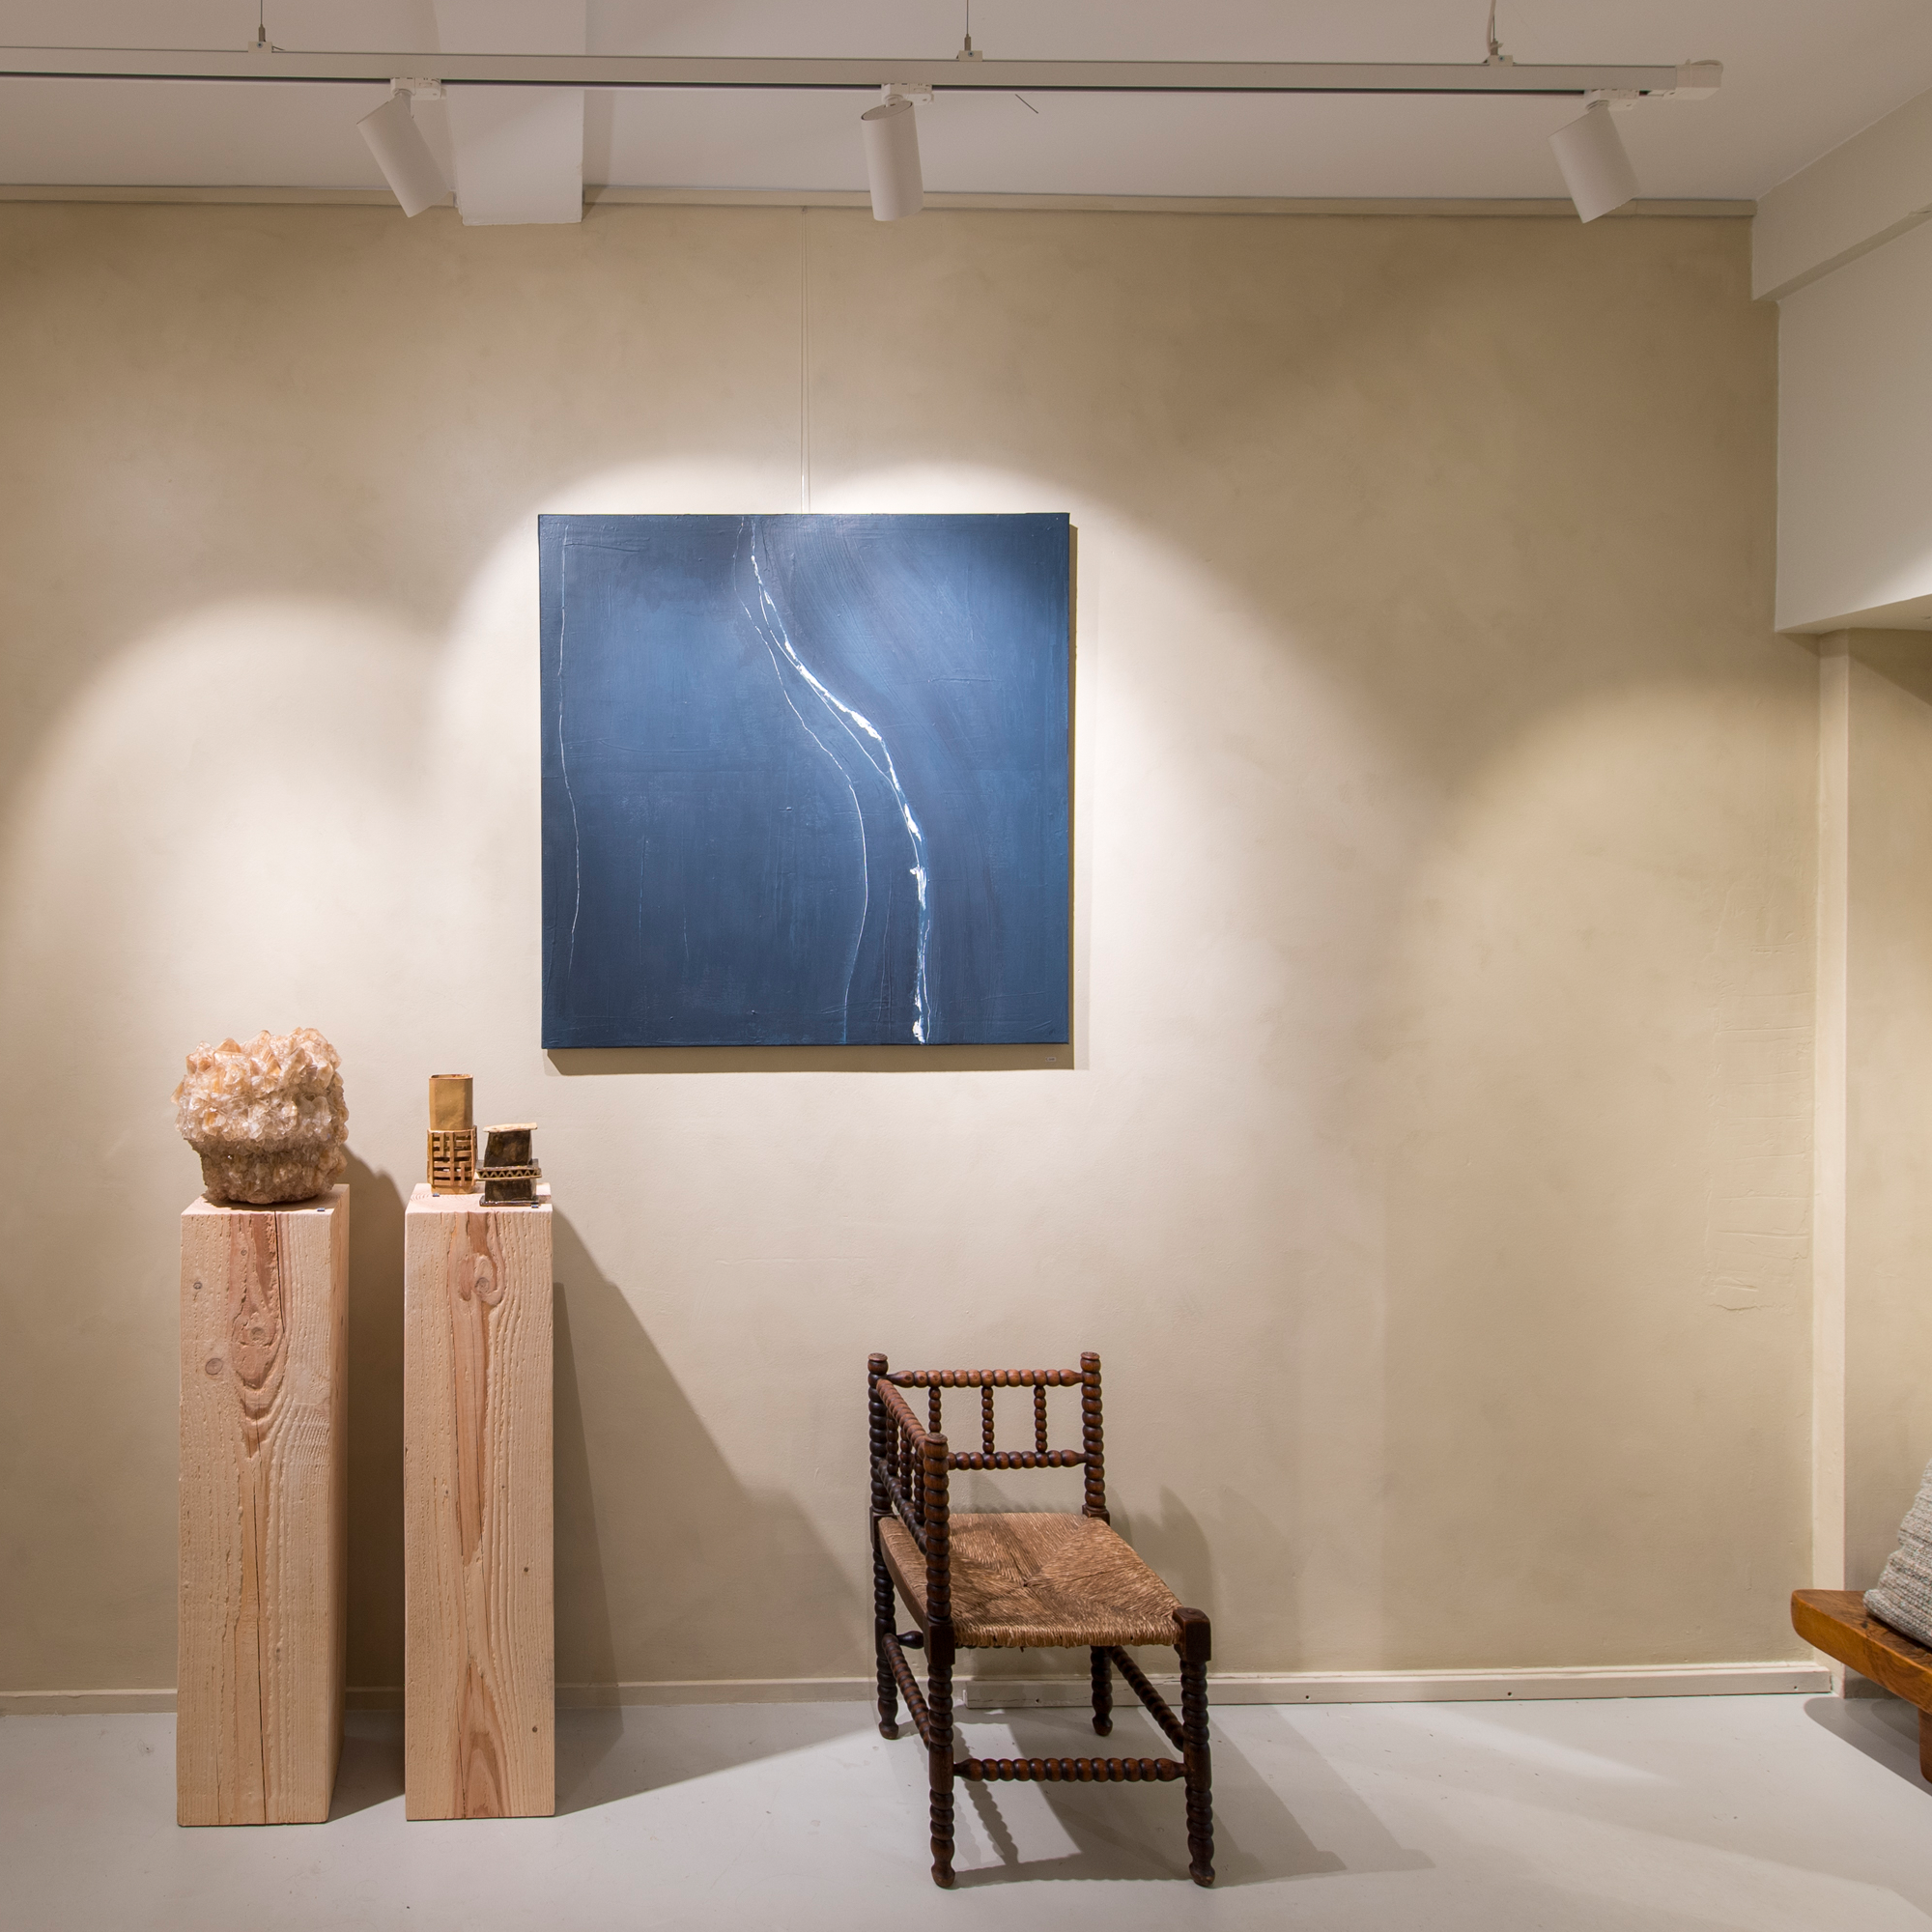
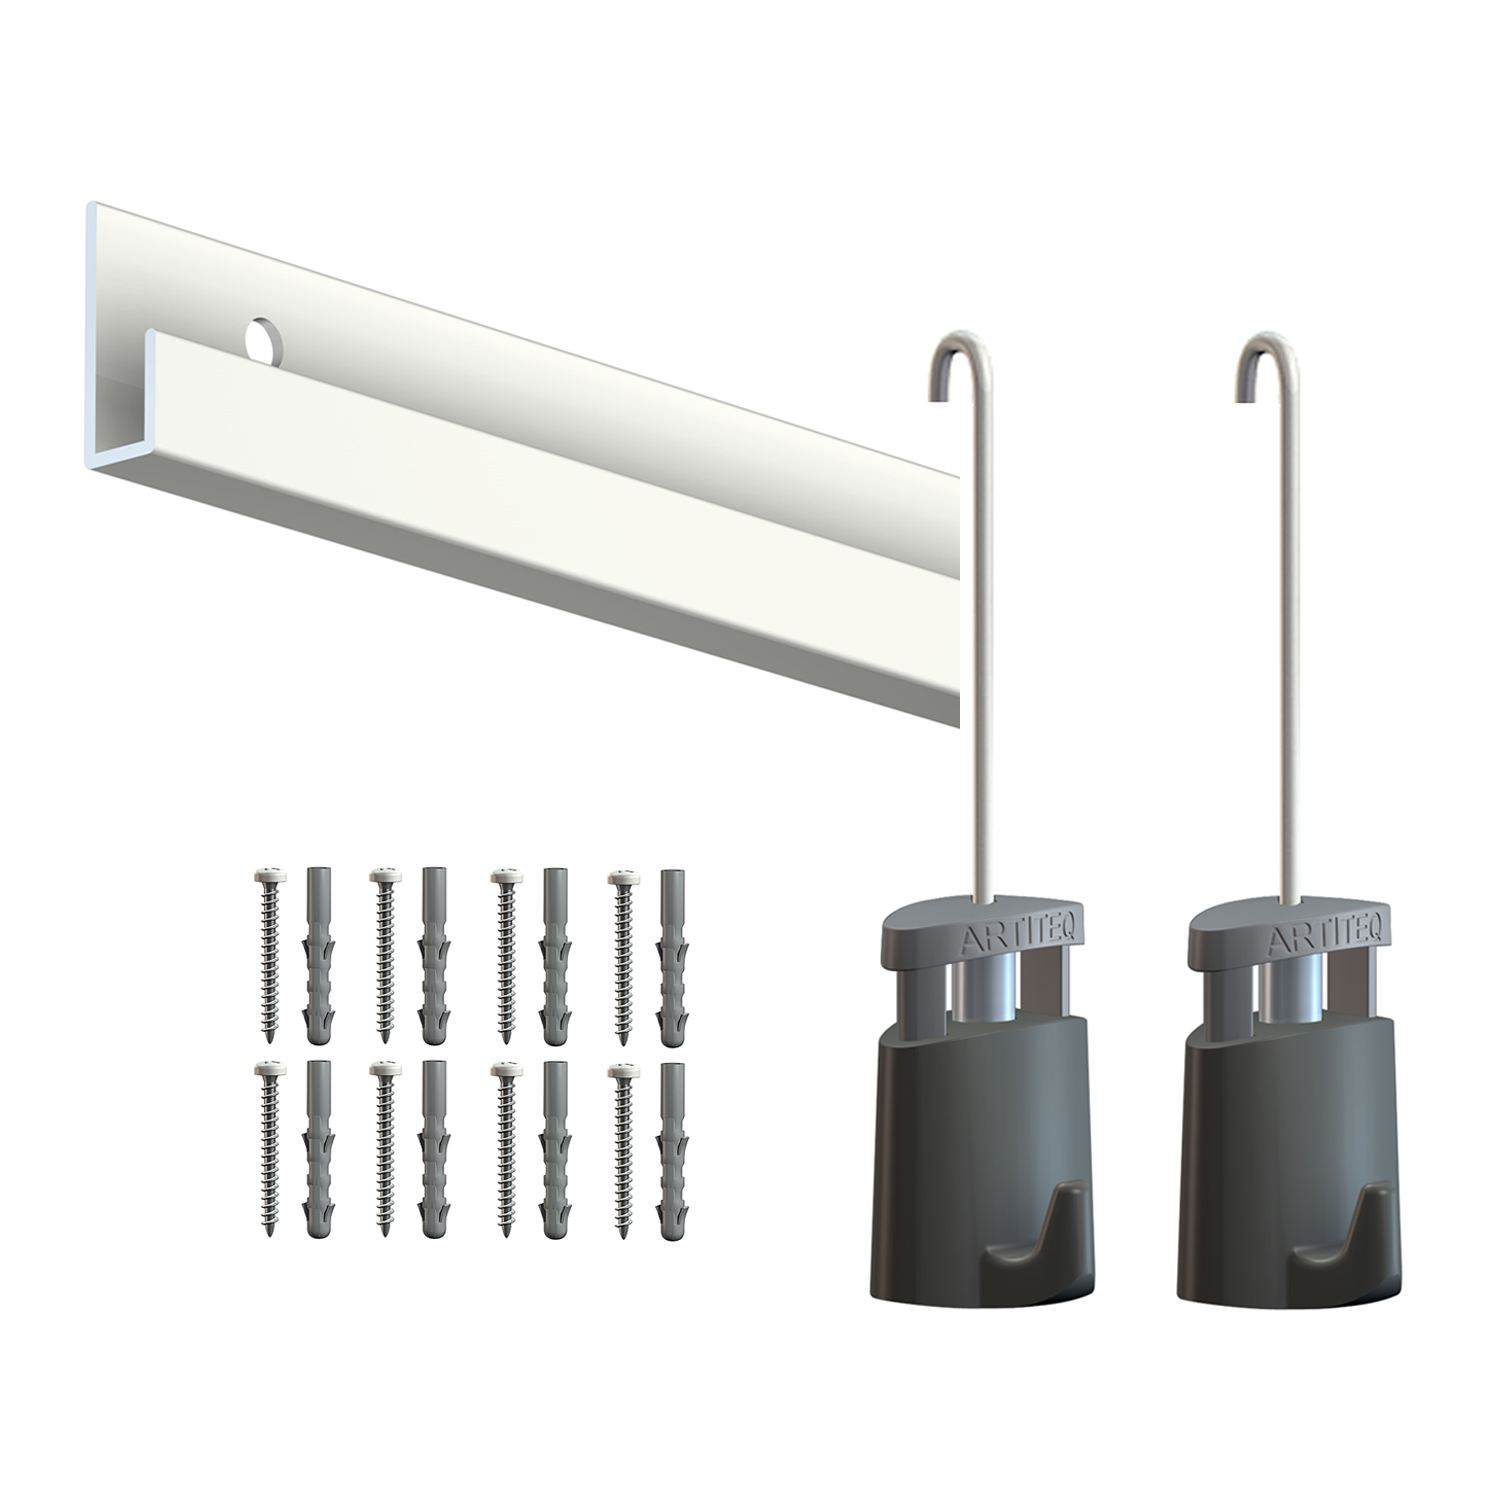
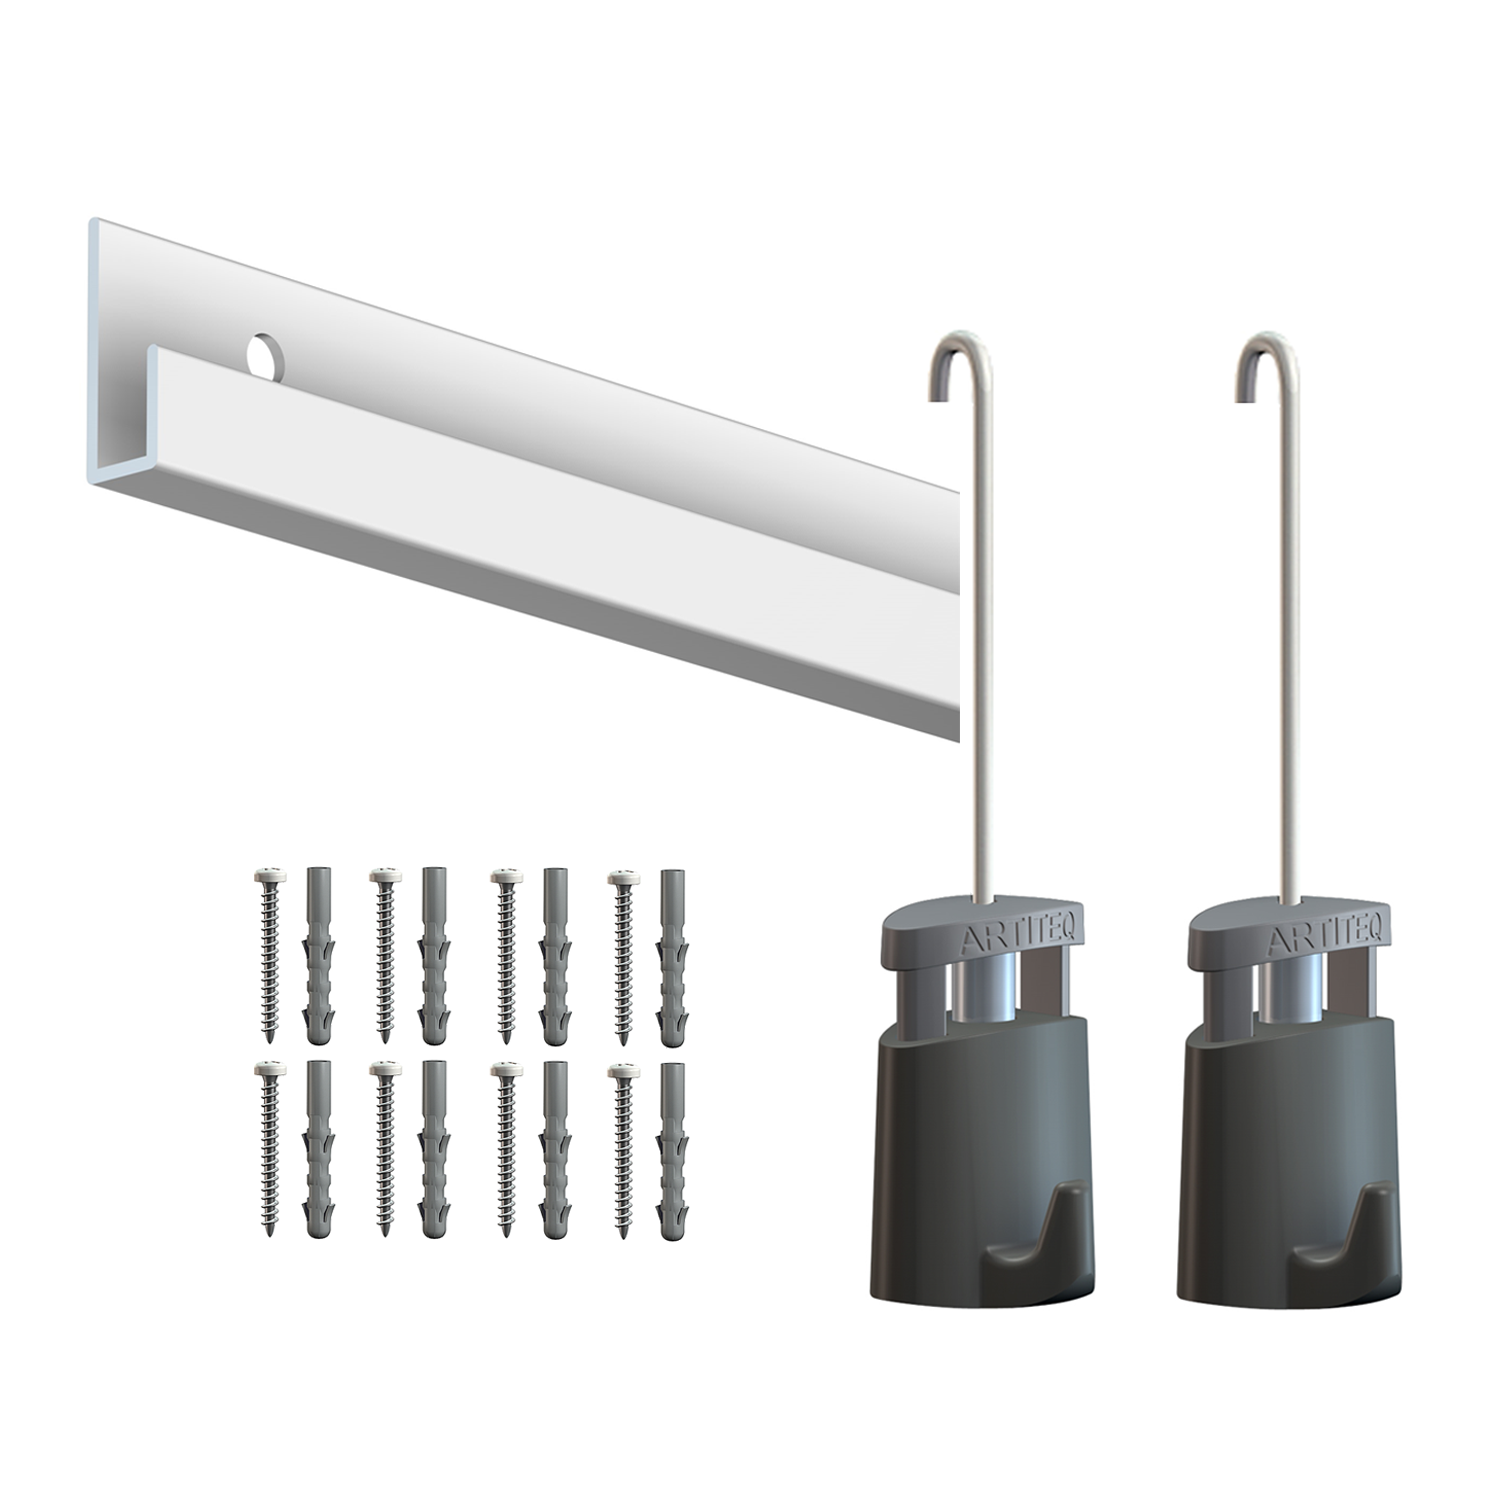
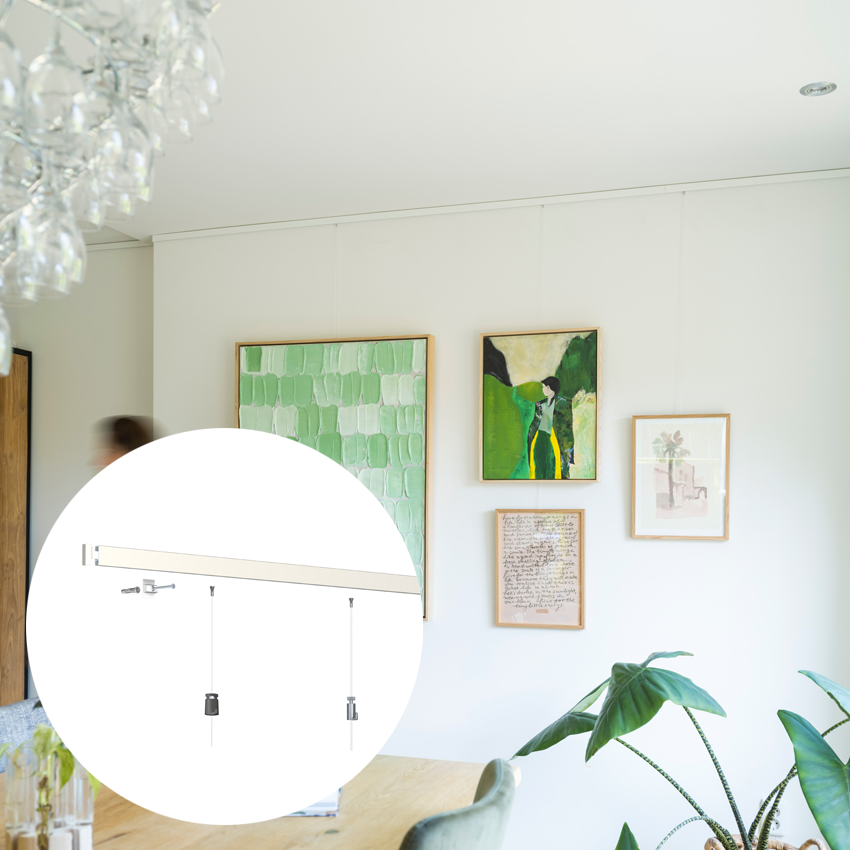
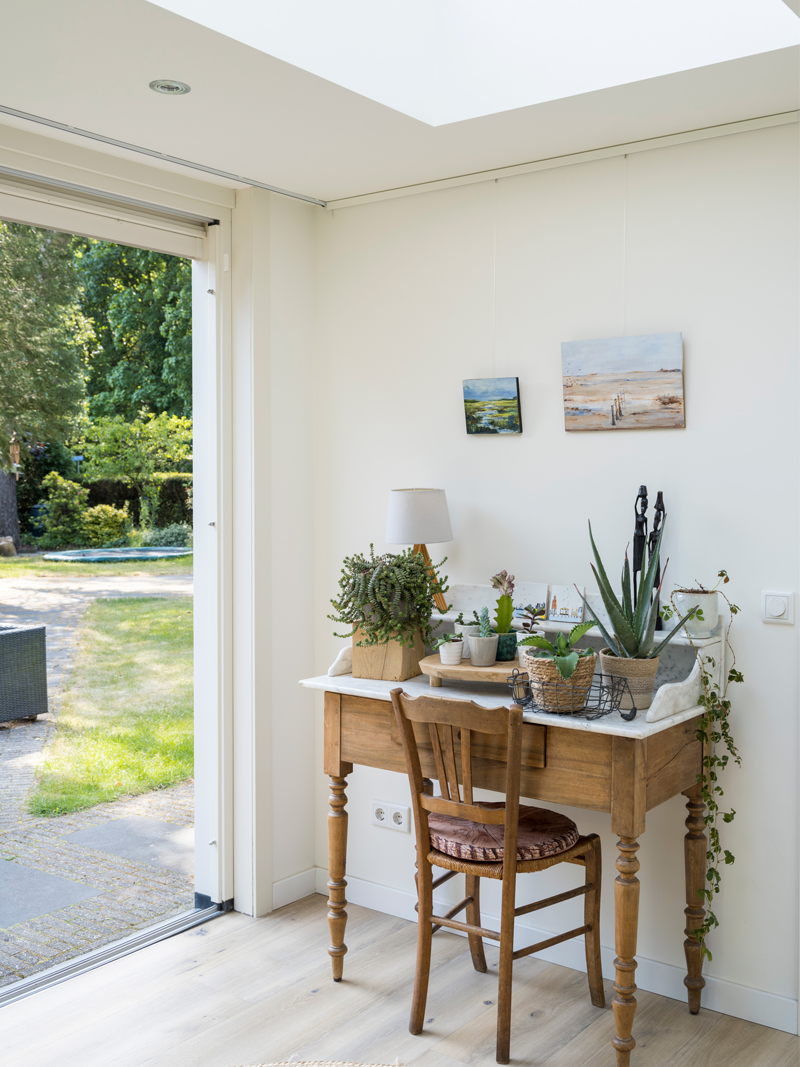
A picture rail is a suspension track fixed high on a wall or directly to the ceiling. It allows pictures to be hung using adjustable cables, wires, and hooks.

Modern models are available in different materials, including aluminum, wood, or finishes suitable for interior design projects.

cimaise accrochage tableau

What is a dado rail?

A picture rail is a suspension track fixed high on a wall or directly to the ceiling. It allows pictures to be hung using adjustable cables, wires, and hooks.

Modern models are available in different materials, including aluminum, wood, or finishes suitable for interior design projects.

cimaise accrochage tableau

This system offers several advantages:

  • Avoid making multiple holes in the walls.
  • Easily change the arrangement of frames and pictures.
  • Create a true wall gallery.
  • Adjust the height of the artworks as you wish.
  • Achieve an aesthetic and professional result.
  • Support significant loads depending on the chosen model.

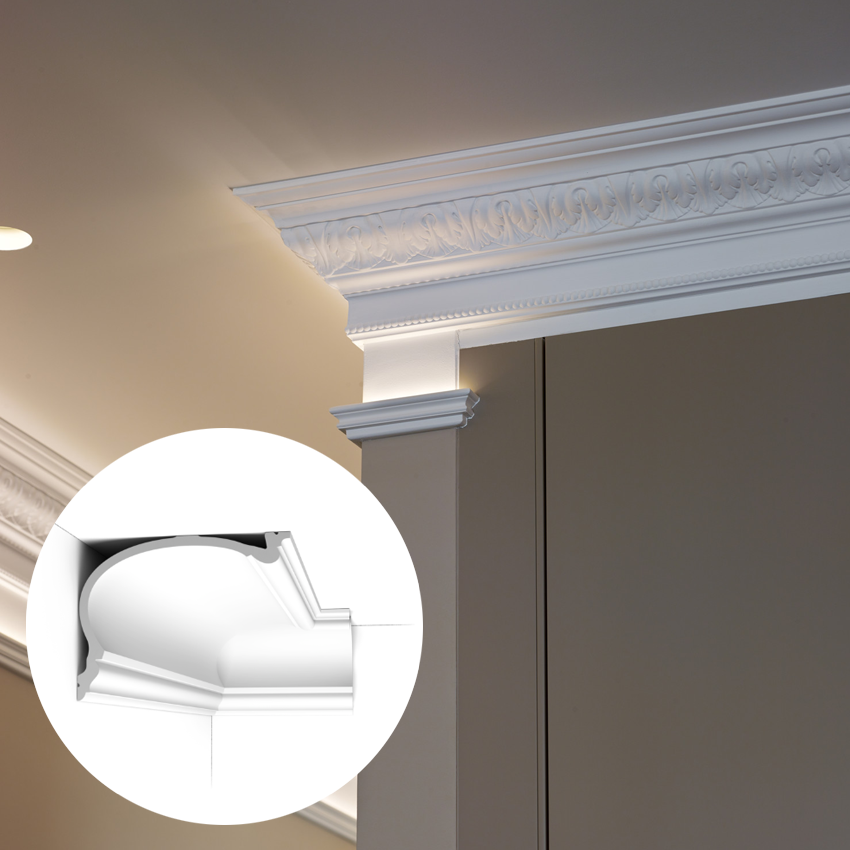
Picture rails can also be integrated with moldings, around the perimeter of a room, or in a staircase to highlight vertical spaces.

Required equipment

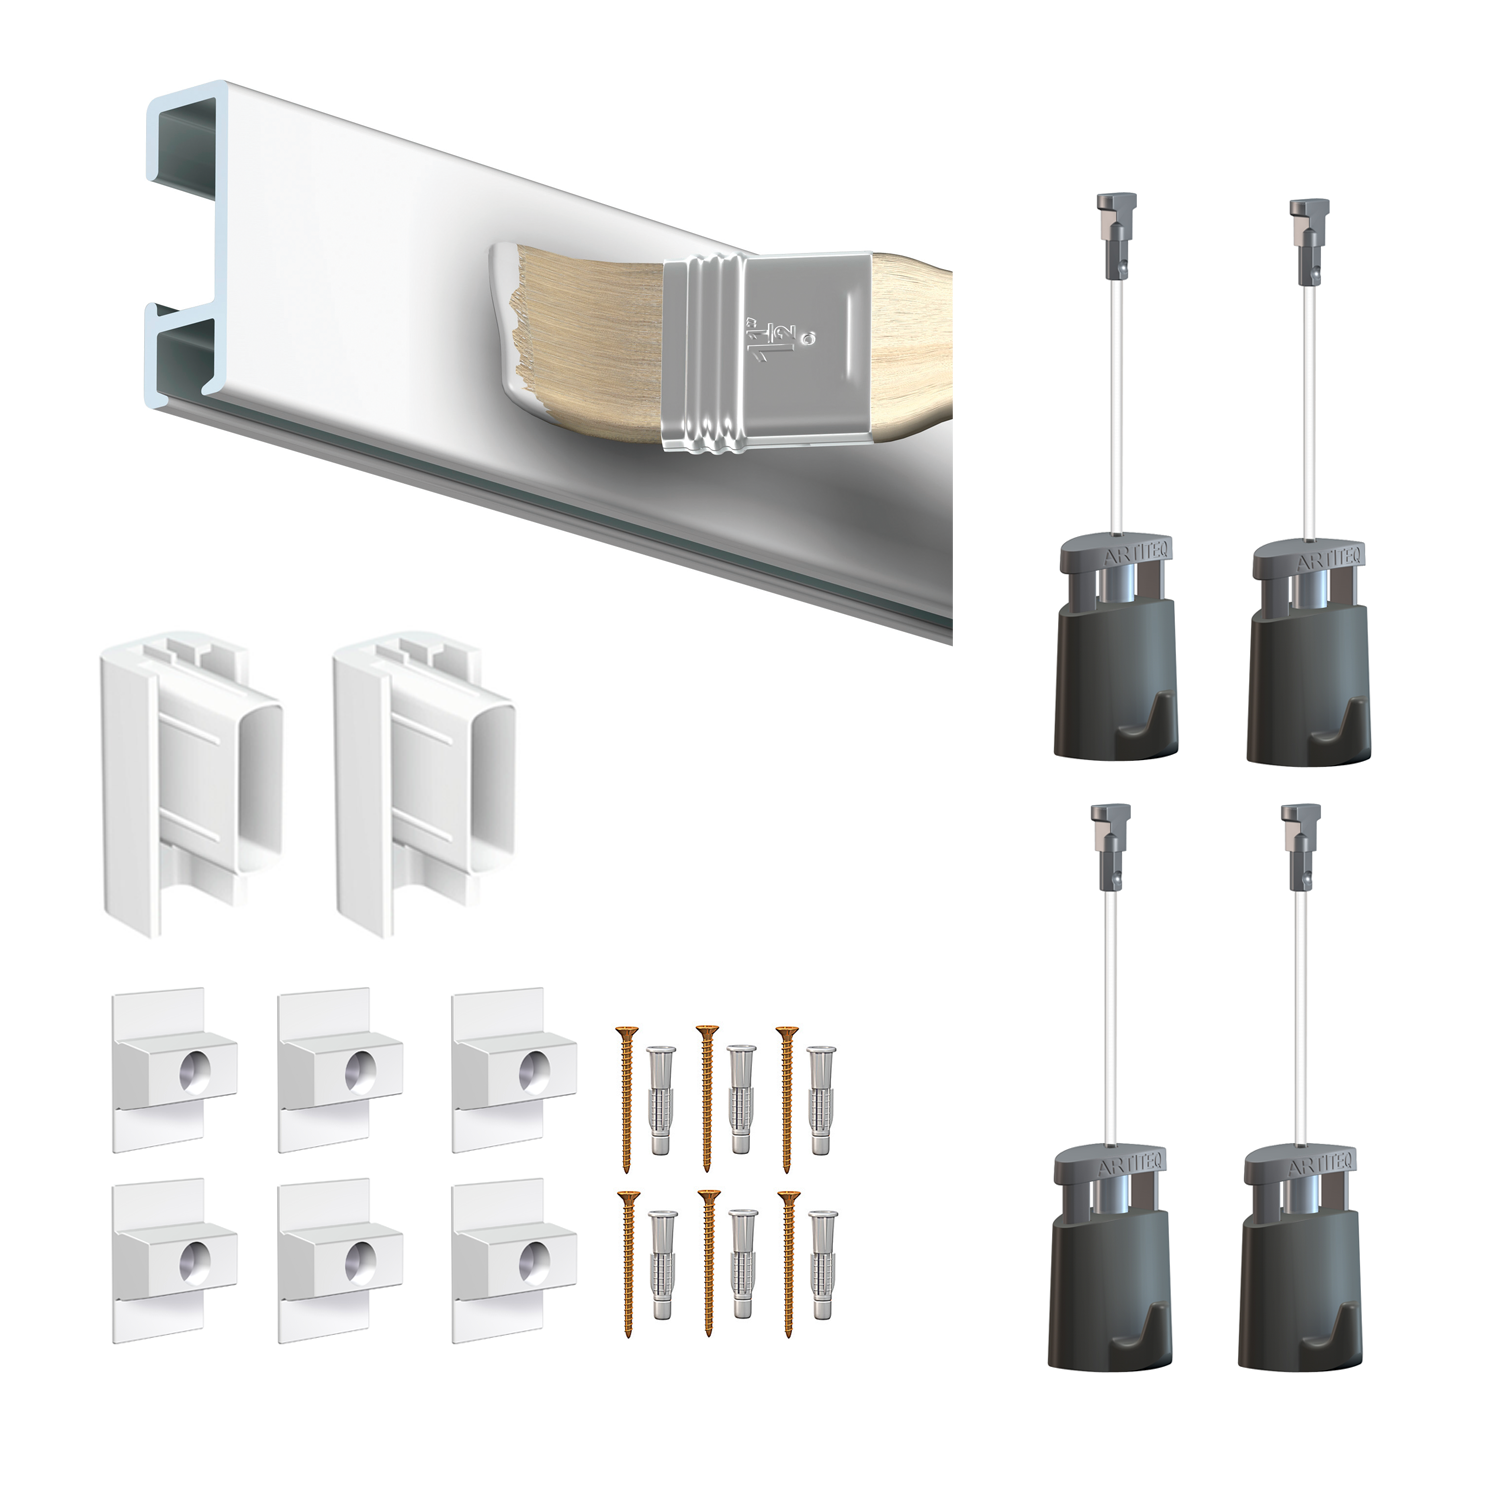
Before you begin installing your picture rail, prepare the following materials:

  • A tape measure.
  • A spirit level.
  • A pencil.
  • A drill.
  • Wall plugs suitable for your wall type.
  • Screws.
  • A screwdriver or power drill.
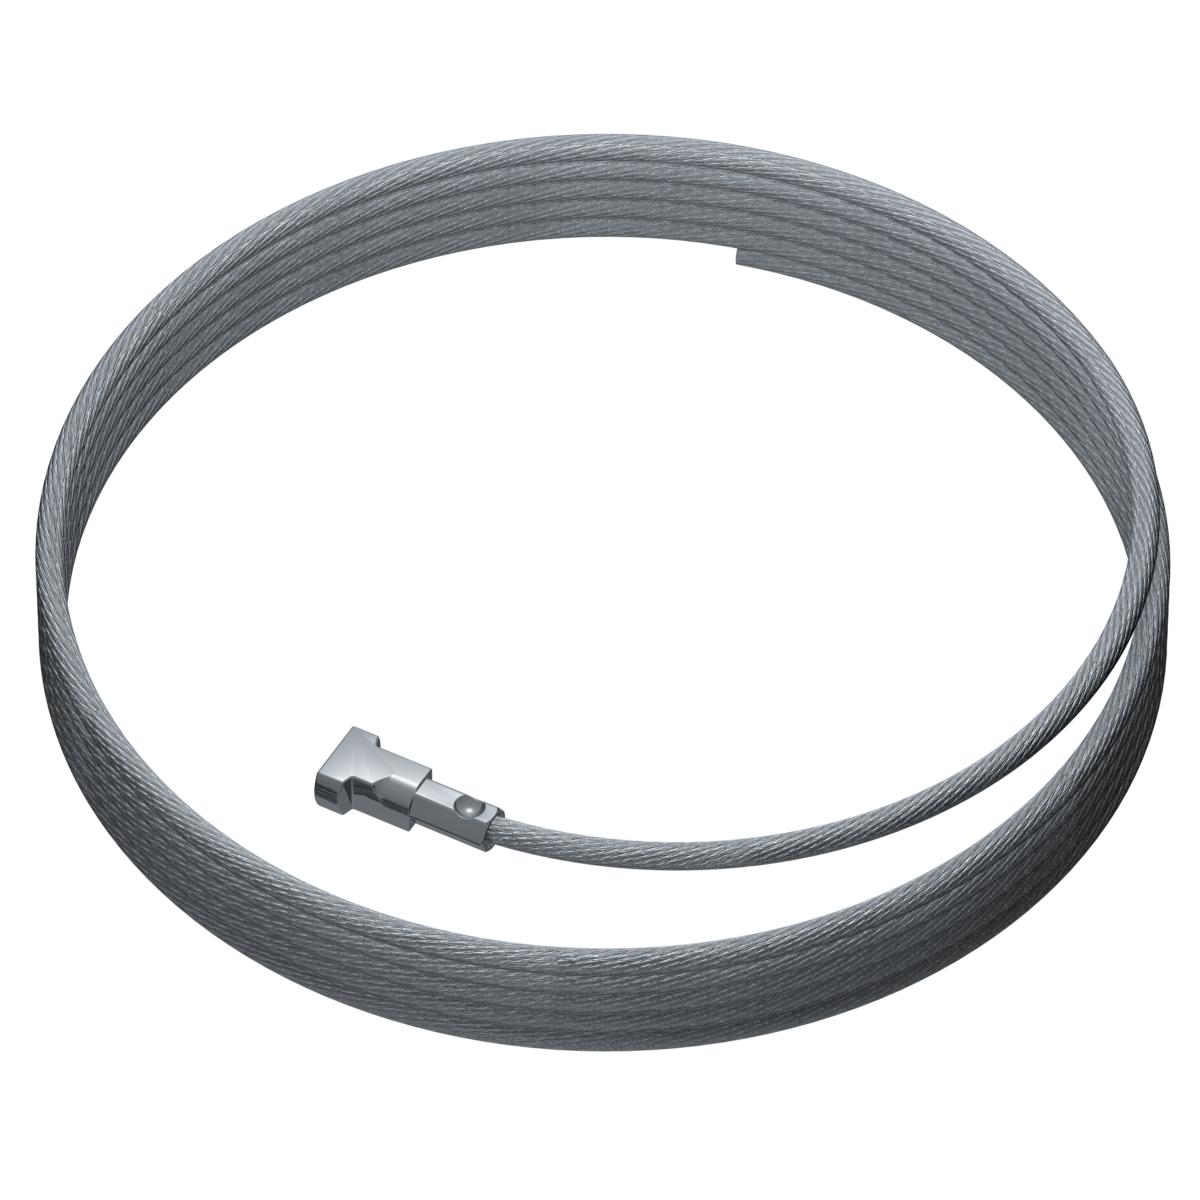
  • Suspension cables or wires.
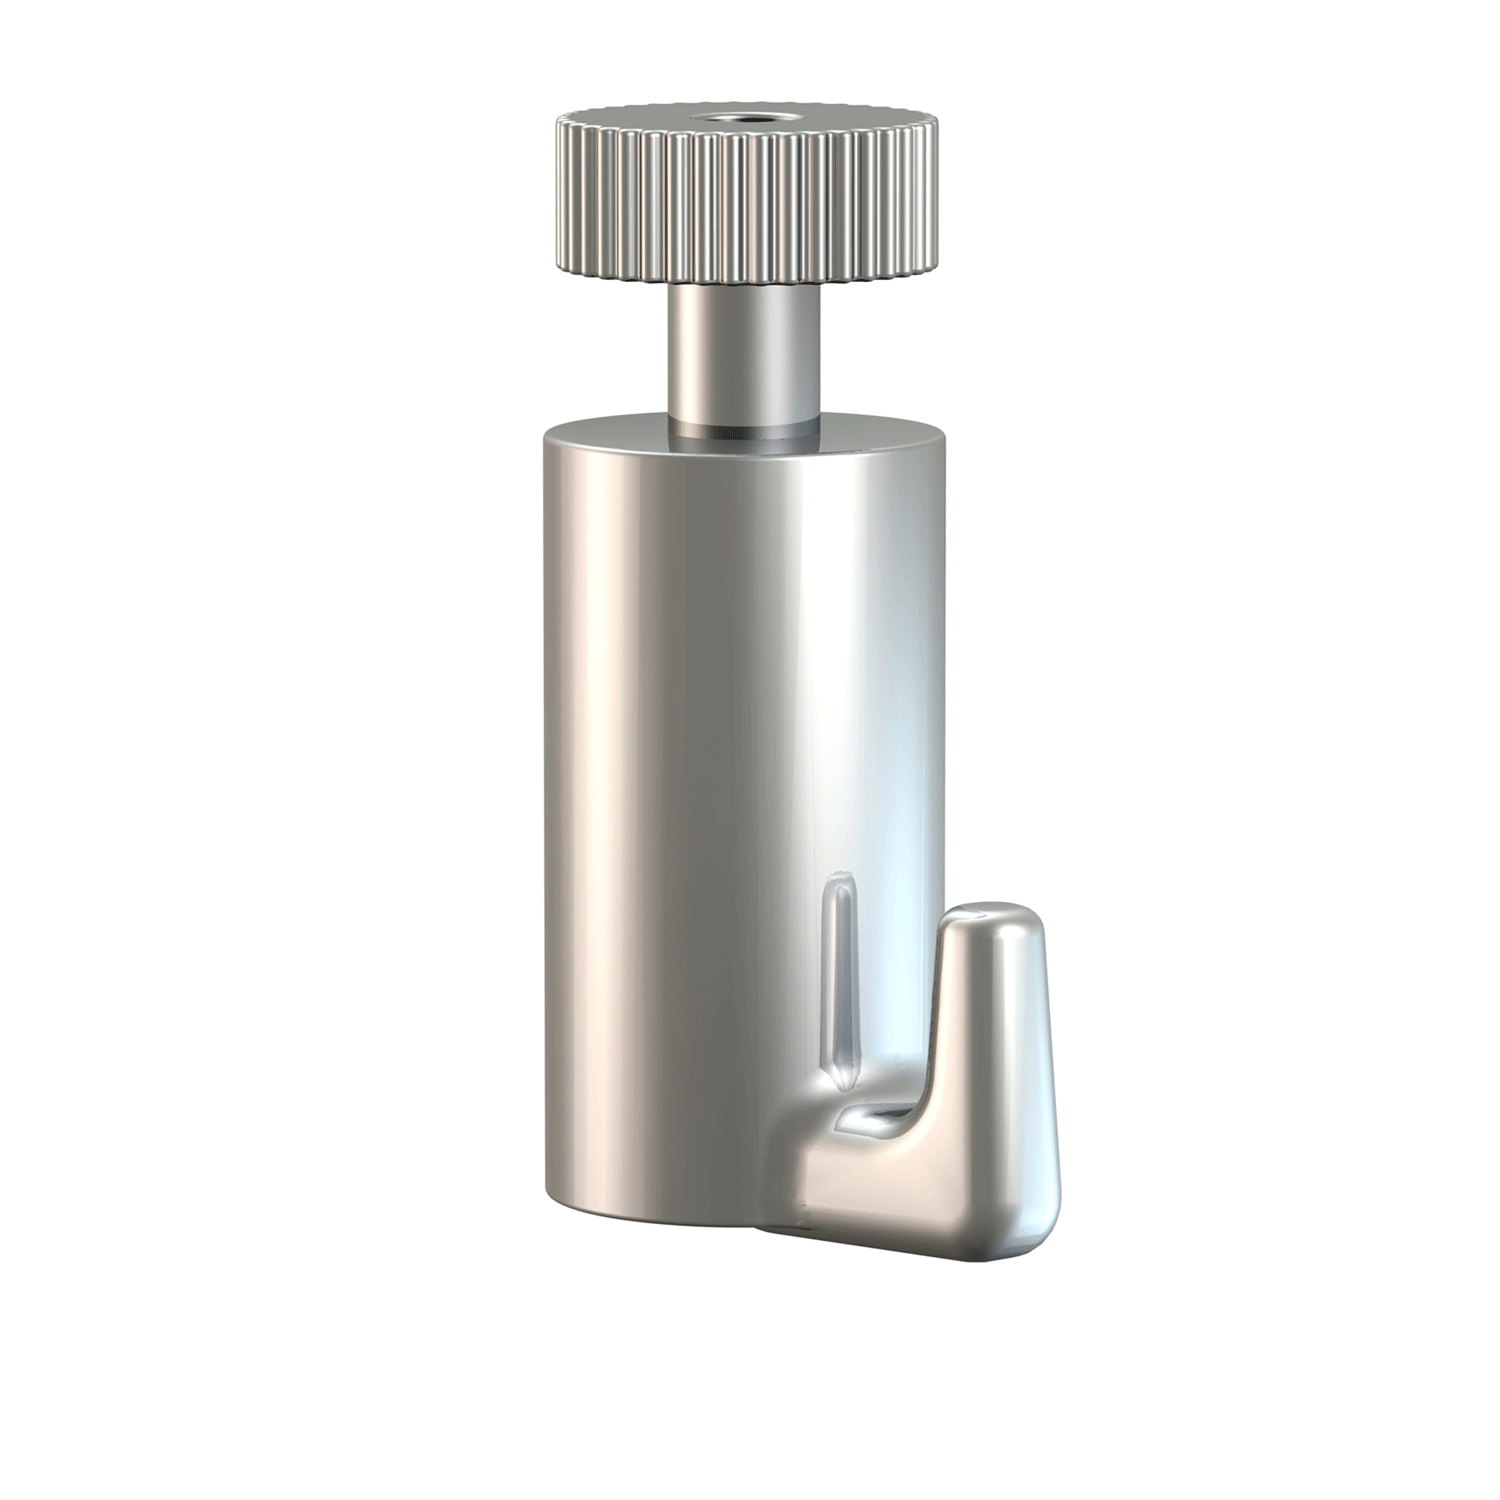
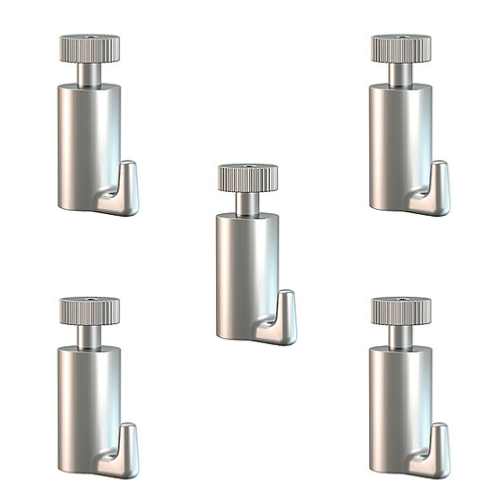
  • Picture hooks.
  • Clips or supports compatible with your system.
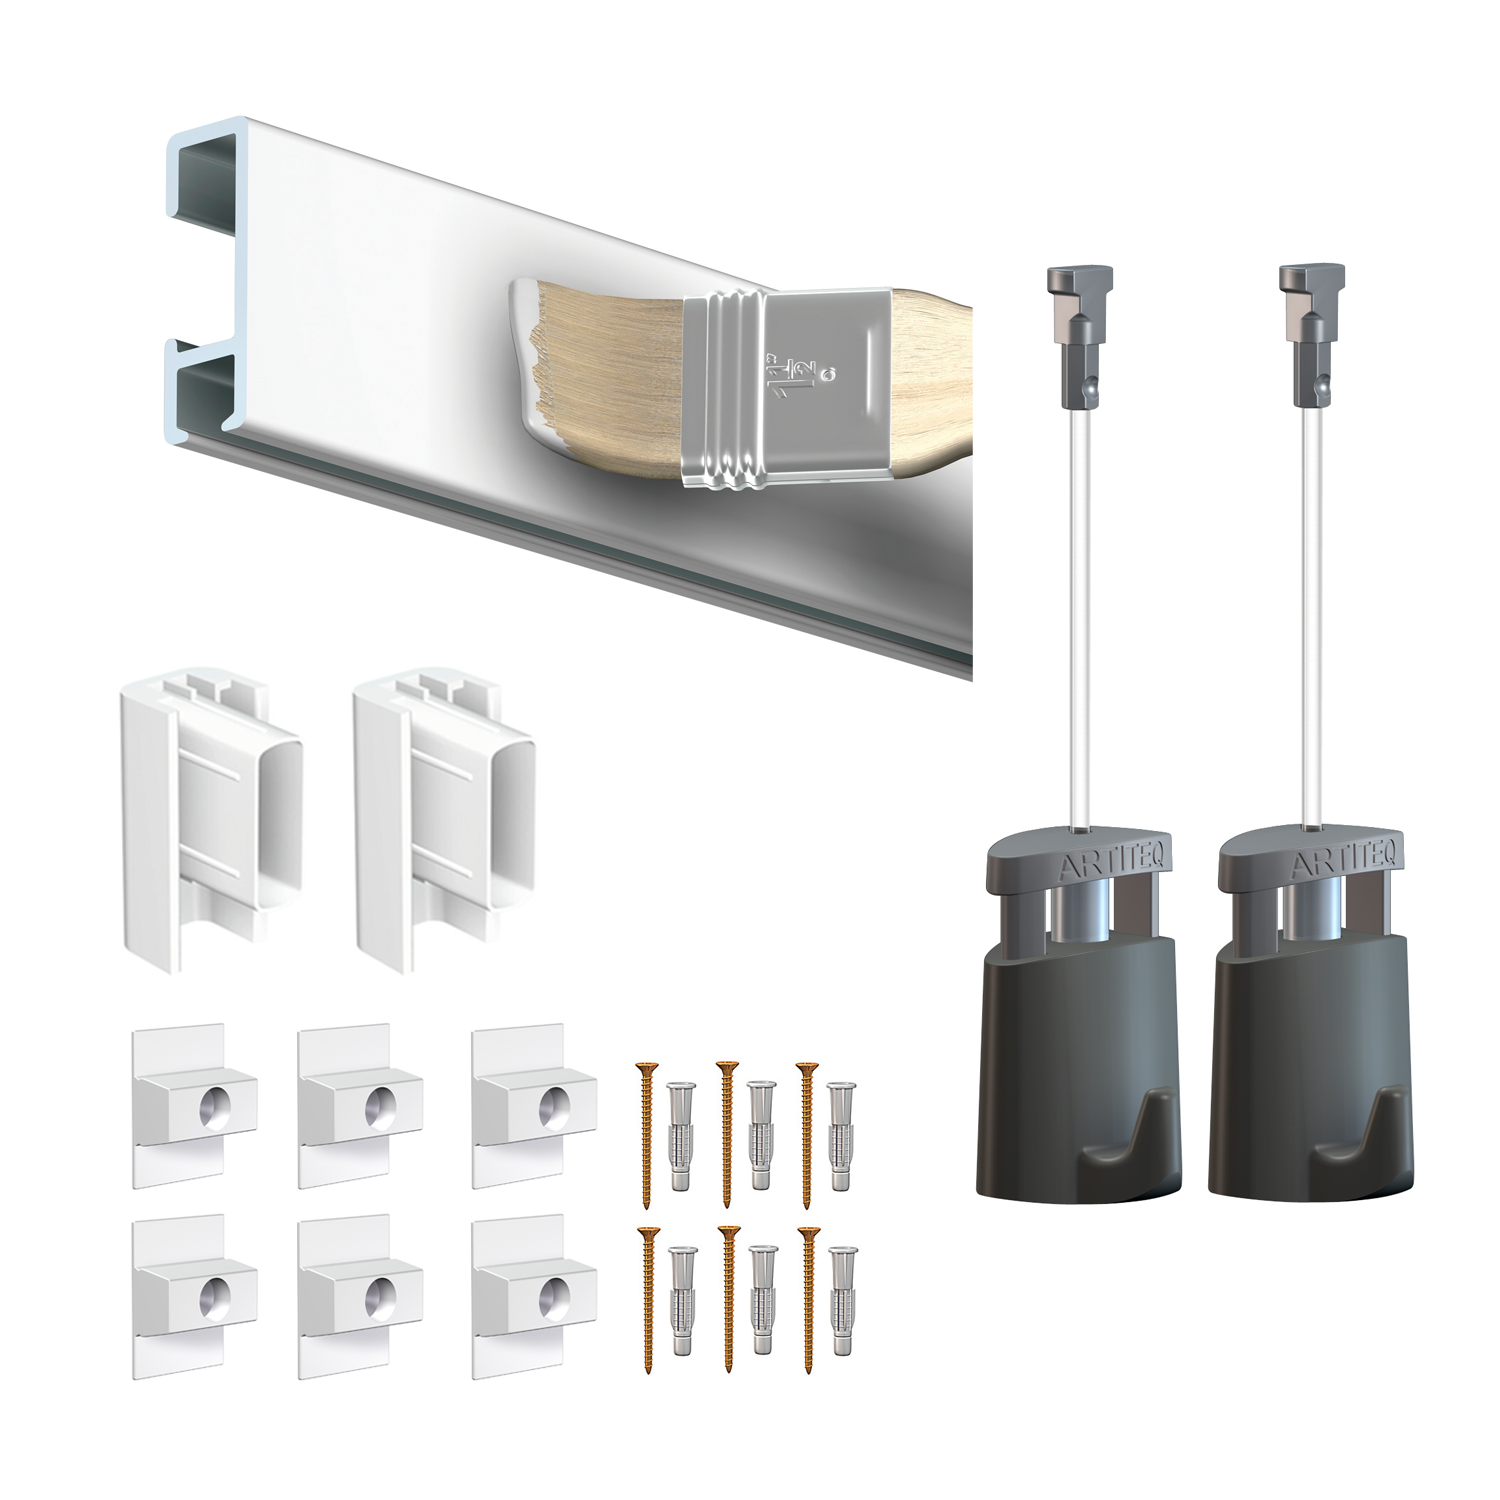
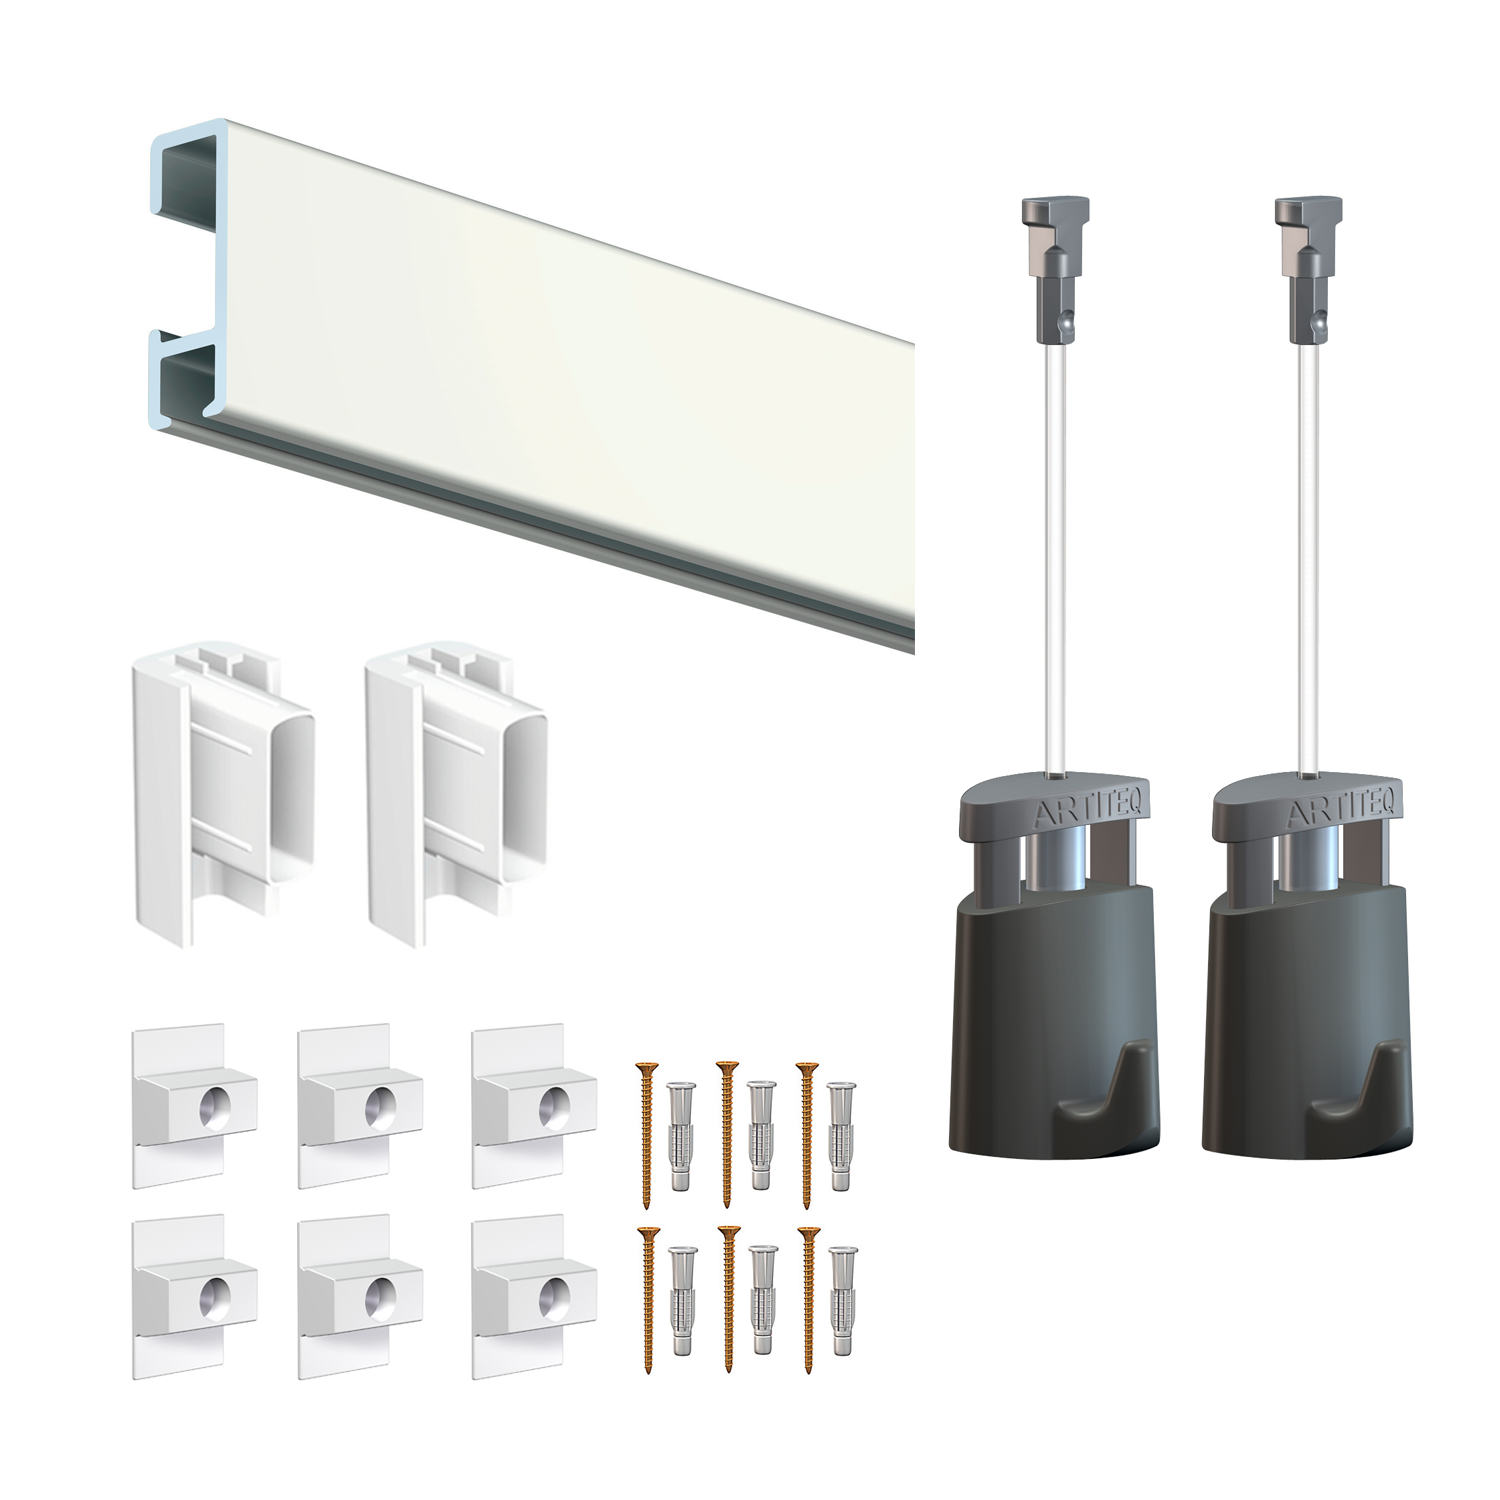
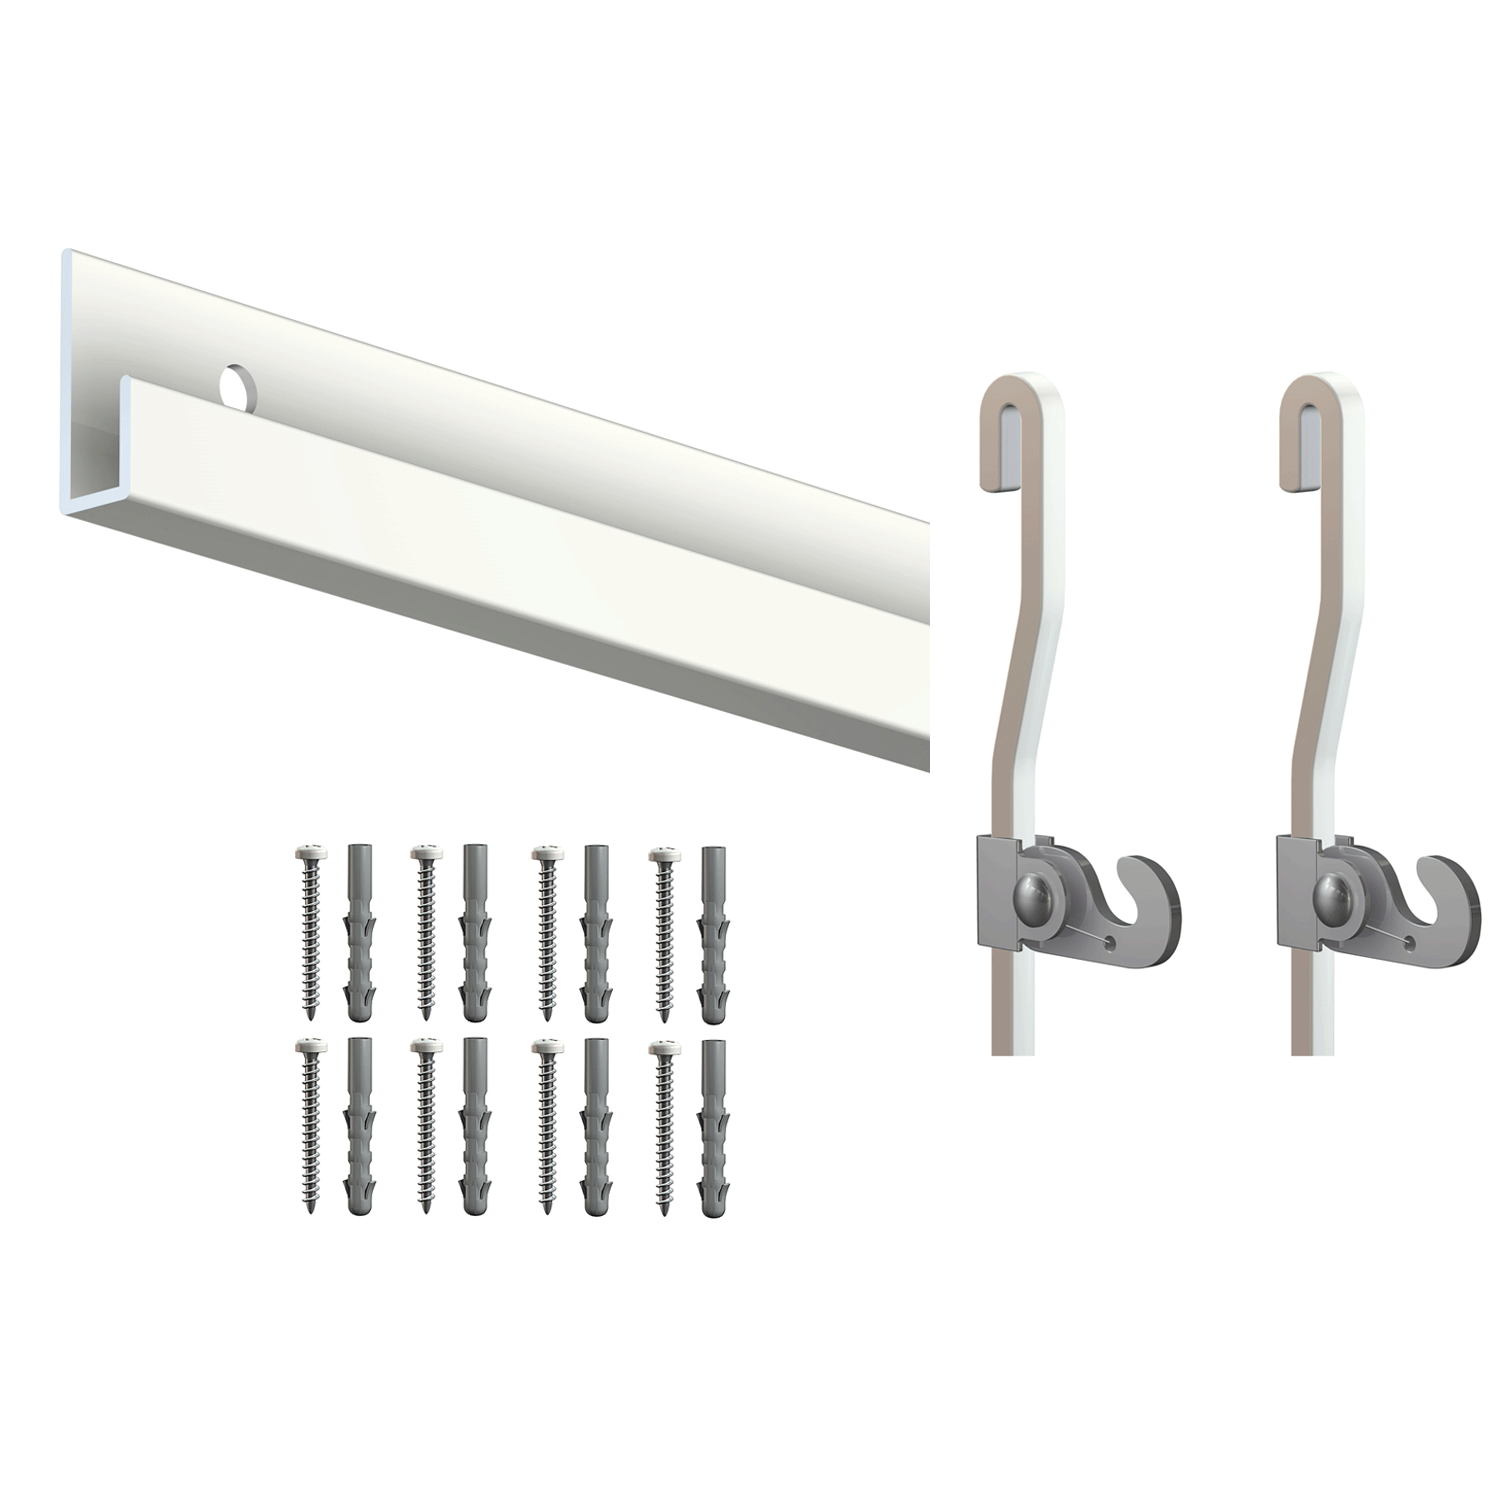
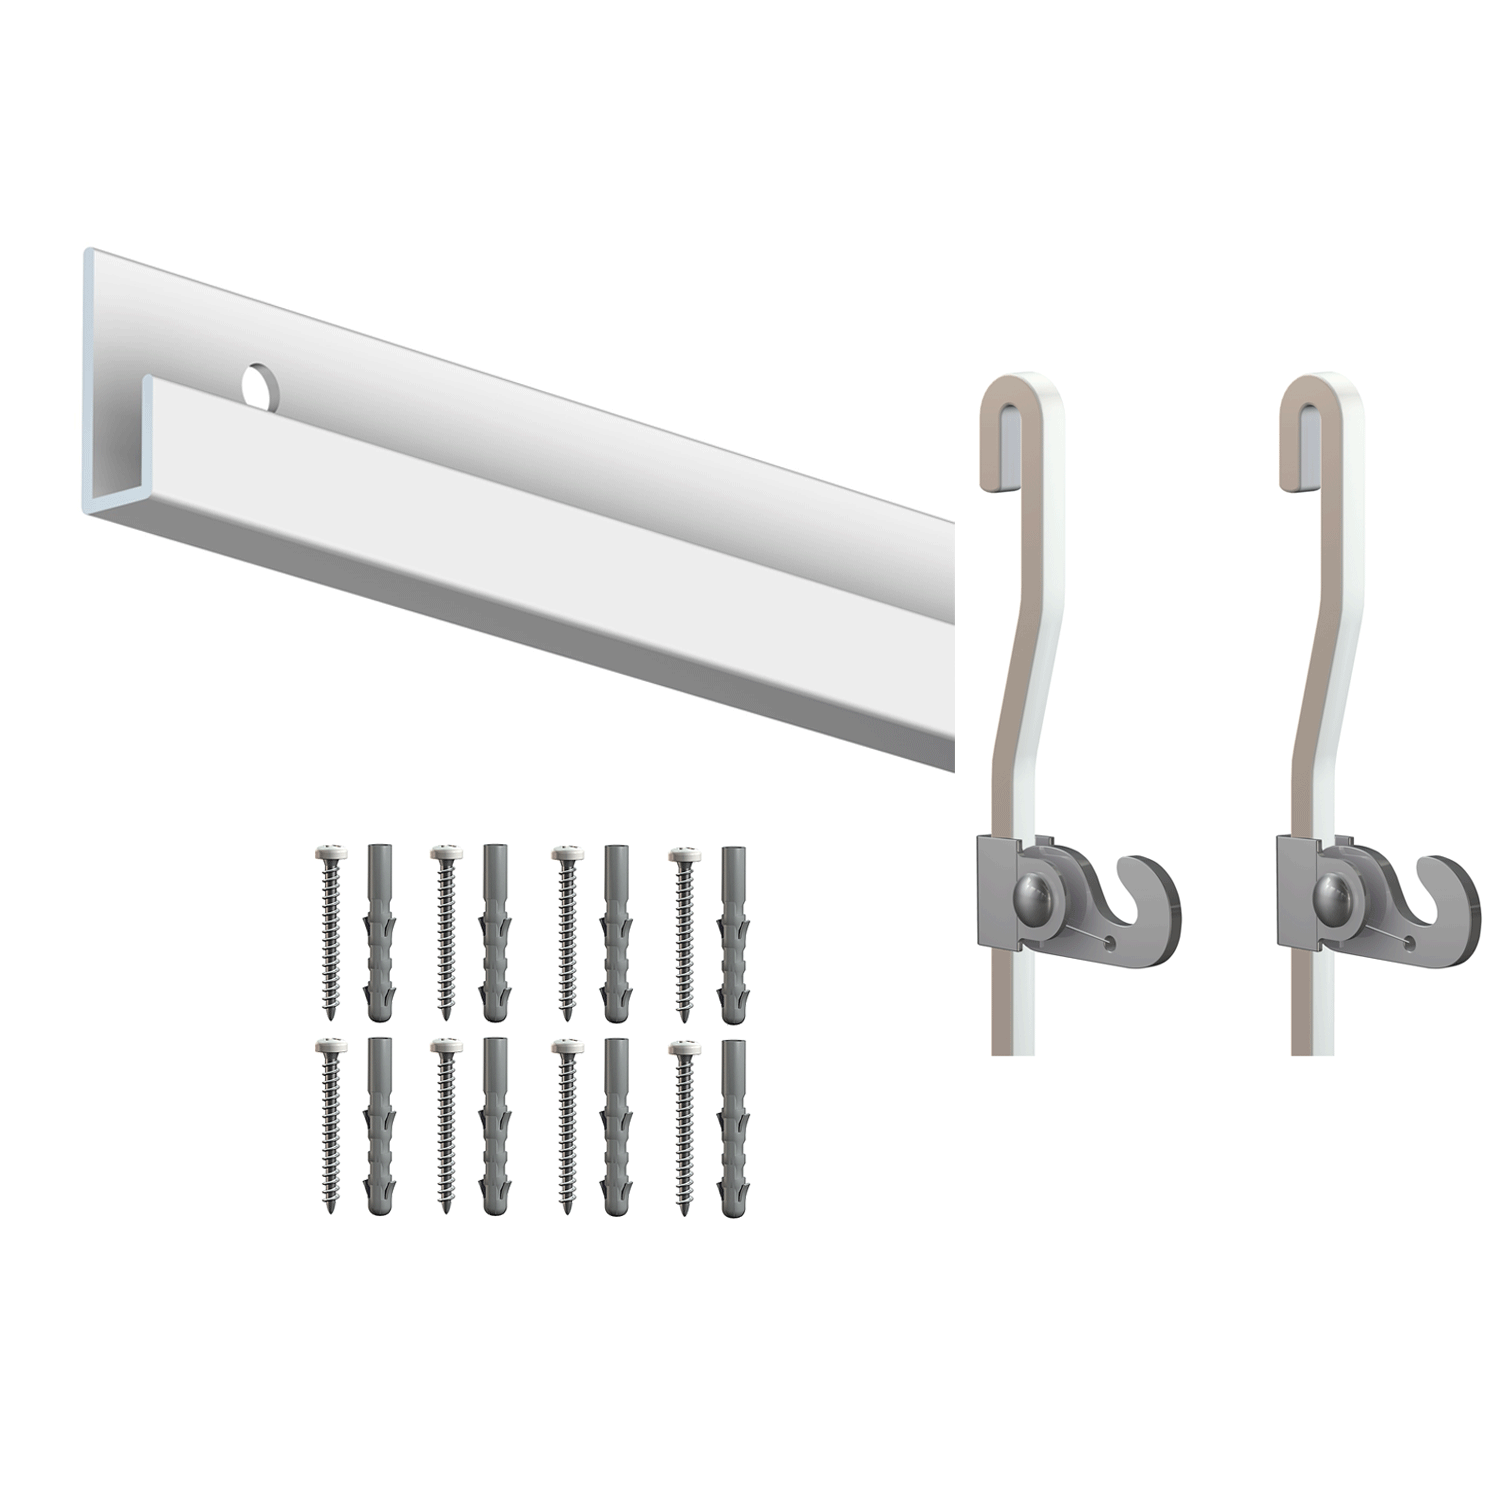
  • The wall mounts supplied with the picture rail.

The choice of materials will depend on the weight of the pictures, the type of wall, and the picture rail model installed.

Step 1: Choose the picture rail location

Picture rails are generally installed:

  • A few centimeters below the ceiling (learn more about the ideal height for installing your picture rail);
  • Directly on the ceiling, depending on the chosen model;
  • On an existing molding;

The goal is to allow the cables to hang freely down to the artwork while maintaining good proportions between the wall height and the displayed pieces.

For a gallery effect, favor continuous installation along the entire length of the wall.

Step 2: Measure and mark

Using a level:

  1. Measure the desired height for your picture rail.
  2. Draw a perfectly horizontal line.
  3. Mark the future fixing points, respecting the spacing recommended by the manufacturer.
  4. Check the alignment of the rail before starting to drill.

Step 3: Drill the holes

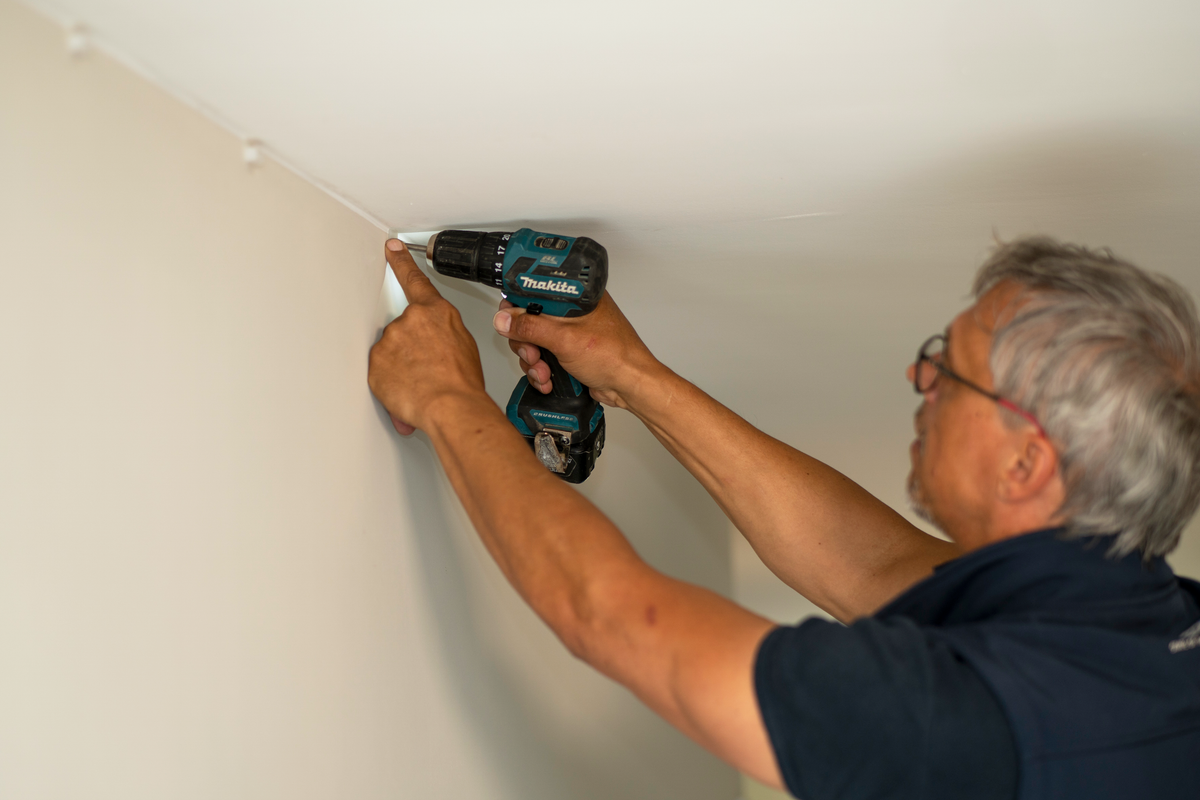
Drill holes at the marked locations using a drill bit appropriate for the material: concrete, brick, plasterboard, wood, etc.

Then insert the appropriate wall plugs to ensure a strong and durable attachment.

For a heavy picture rail intended to hold multiple paintings, it is important to use supports capable of bearing the expected load.

installation cimaise accrochage tableau

Step 3: Drill the holes

Drill holes at the marked locations using a drill bit appropriate for the material: concrete, brick, plasterboard, wood, etc.

Then insert the appropriate wall plugs to ensure a strong and durable attachment.

For a heavy picture rail intended to hold multiple paintings, it is important to use supports capable of bearing the expected load.

installation cimaise accrochage tableau

Step 4: Install the picture rail

Position the rail against the wall, then gradually screw in all the fasteners or simply clip the rail into place, depending on the chosen model.

Regularly check for horizontal alignment with a spirit level before tightening the screws completely.

Aluminum models are particularly popular for their lightness, strength, and discreet appearance in modern decoration projects.

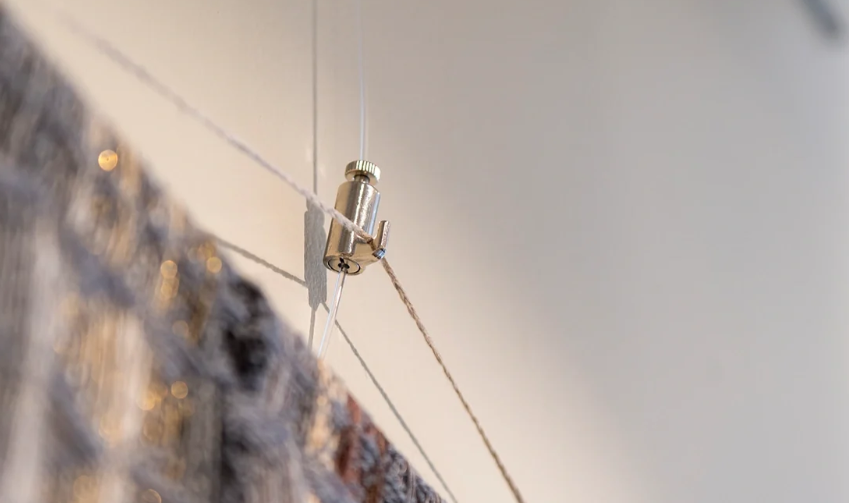
Step 5: Install the cables and hooks

Once the rail is fixed:

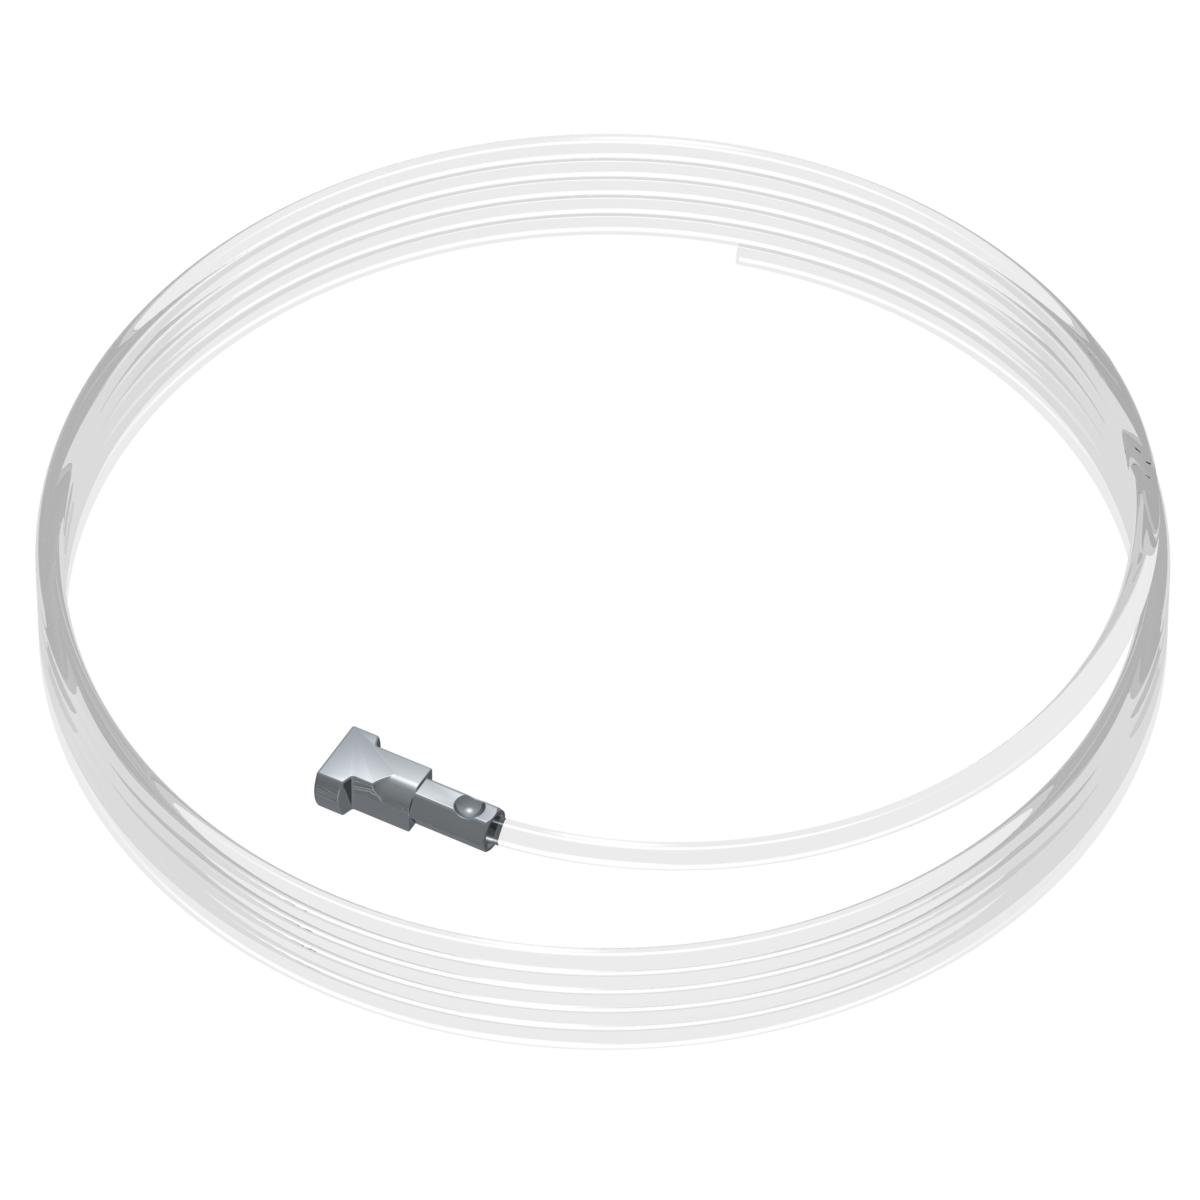
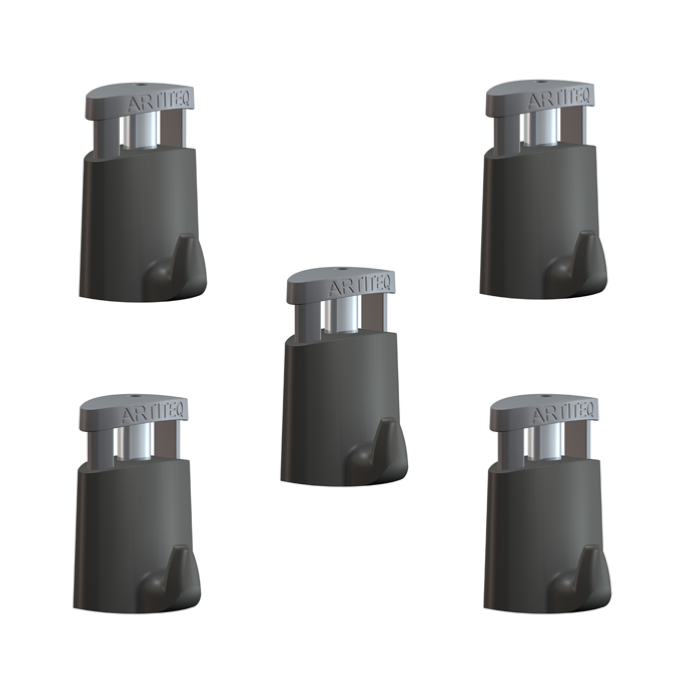
  • Insert the cables or wires into the picture rail;
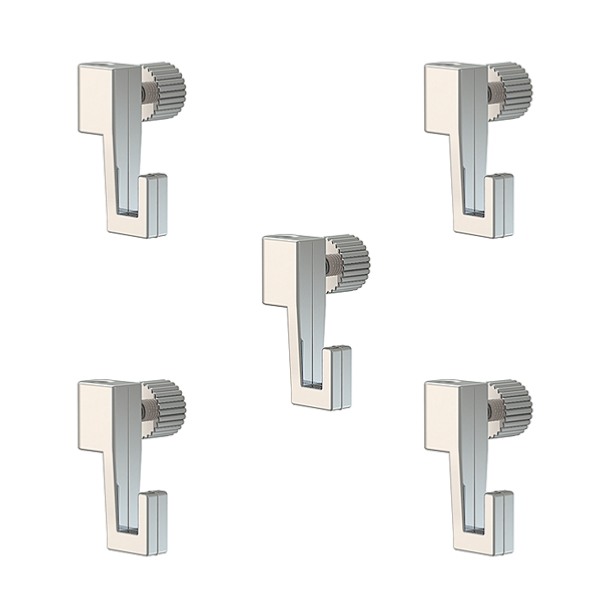
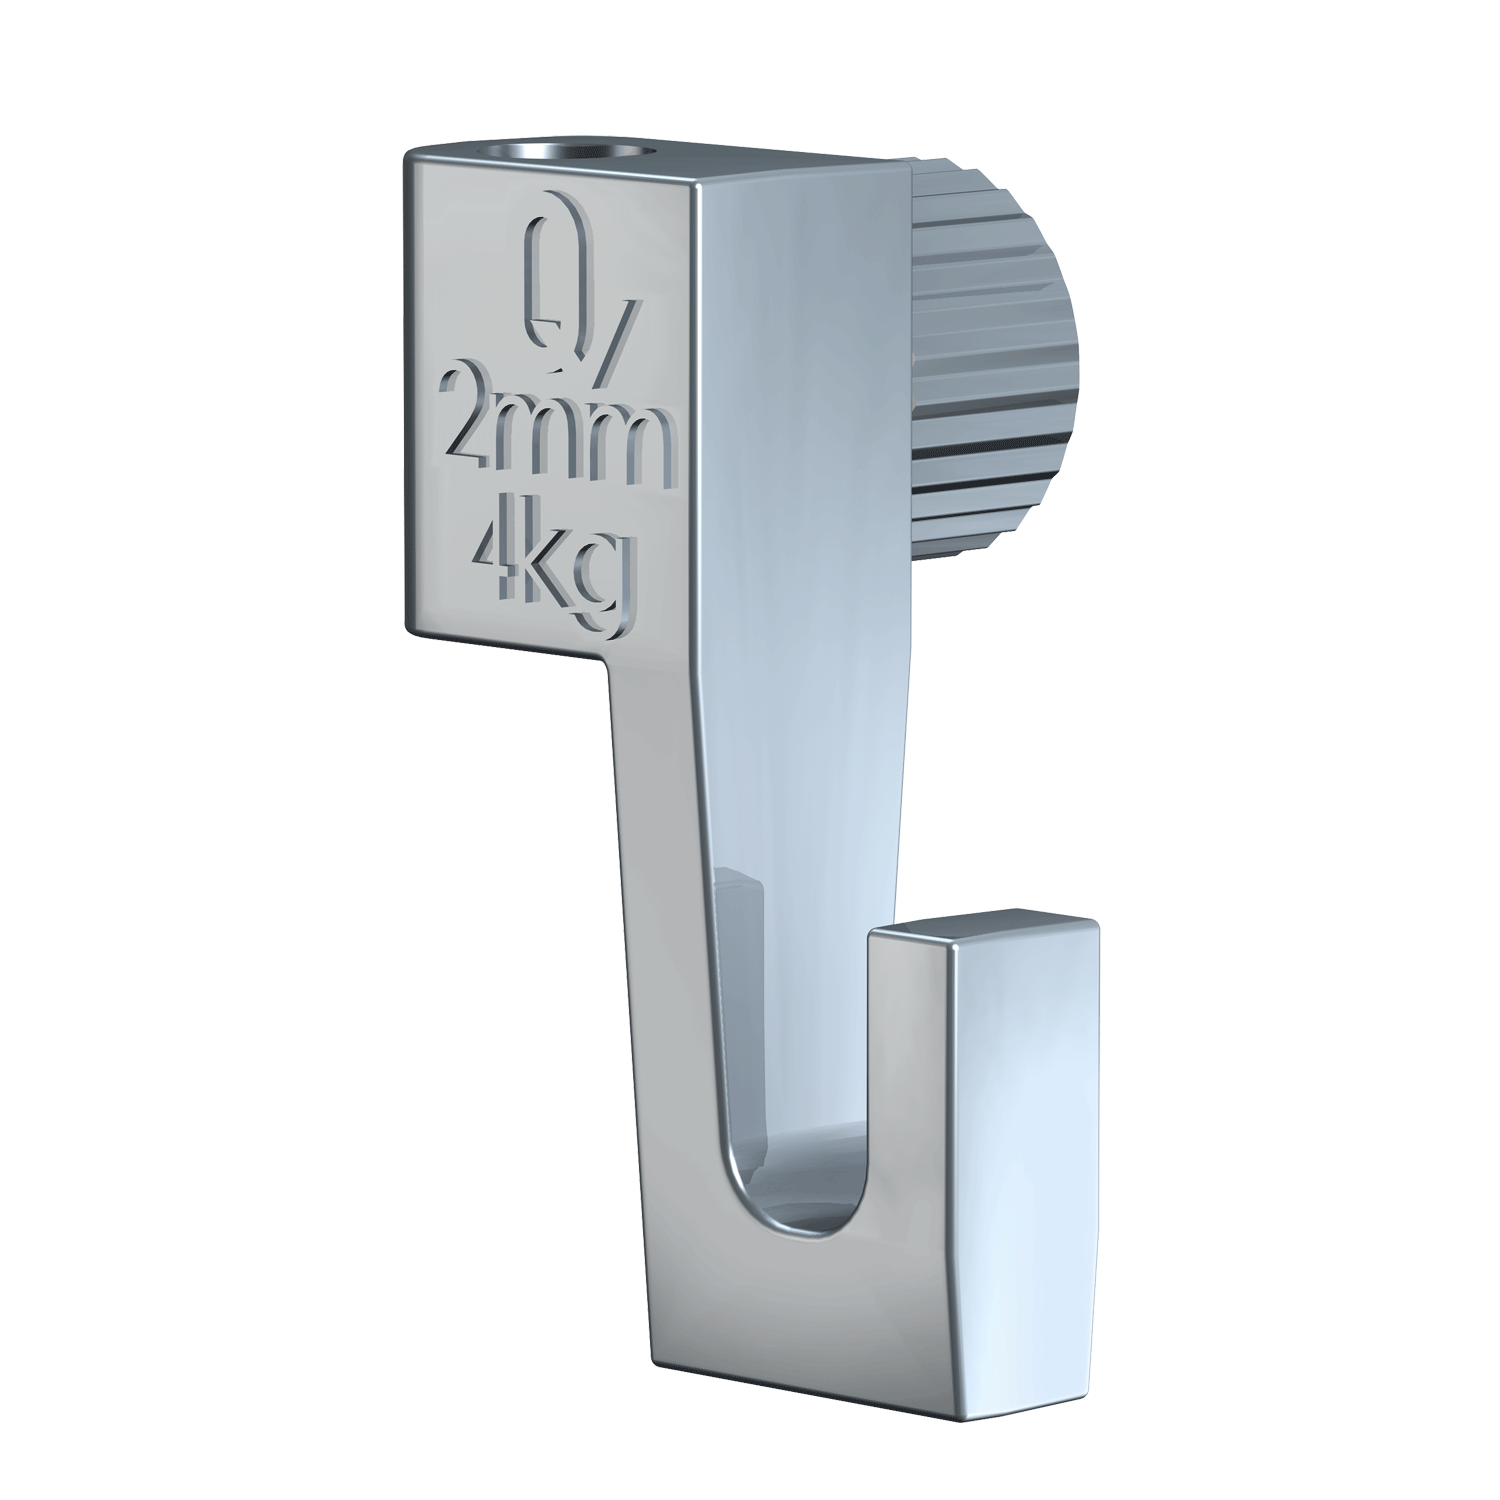
  • Add the adjustable hooks;
  • Hang your pictures;
  • Easily adjust their height.

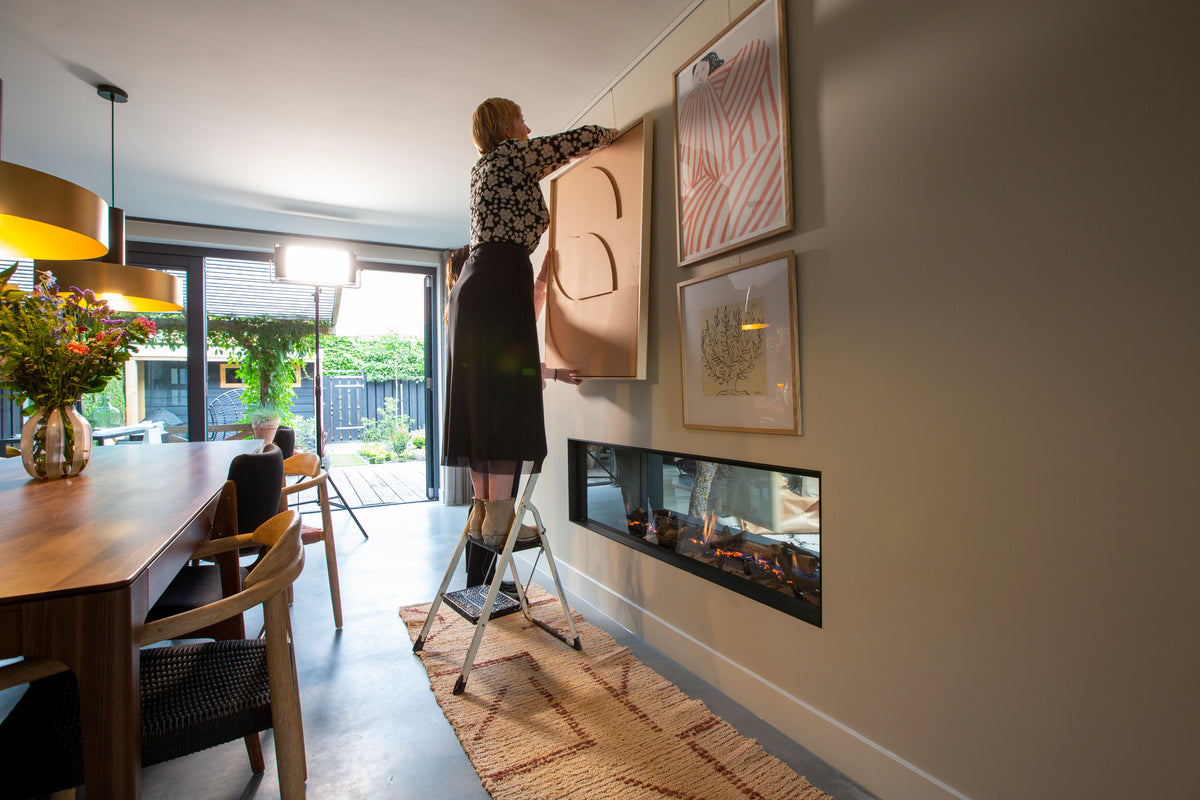
This system allows you to change the arrangement of artworks without dismantling the wall fixture.

It is an ideal solution for galleries, exhibitions, offices, or spaces where decoration changes regularly.

accrochage cimaise tableau

Step 5: Install the cables and hooks

Once the rail is fixed:

  • Insert the cables or wires into the picture rail;
  • Add the adjustable hooks;
  • Hang your pictures;
  • Easily adjust their height.

This system allows you to change the arrangement of artworks without dismantling the wall fixture.

It is an ideal solution for galleries, exhibitions, offices, or spaces where decoration changes regularly.

accrochage cimaise tableau

What weight can a picture rail support?

Load capacity depends on:

  • The picture rail model;
  • The rail material;
  • The type of cable used;
  • The chosen hooks and supports;
  • The number of fixing points;
  • The nature of the wall.

Some professional picture rails can support several tens of kilograms when correctly installed. It is essential to consult the manufacturer's recommendations before installation.

Mistakes to avoid

To ensure a durable installation, avoid:

  • Using wall plugs unsuitable for the wall;
  • Neglecting the level;
  • Measuring the height incorrectly before installation;
  • Spacing fixings too far apart;
  • Exceeding the maximum allowed load;
  • Installing a picture rail on a fragile support without reinforcement;
  • Choosing hooks or cables incompatible with the system.

Why choose a picture rail?

Picture rail offers many advantages:

  • An evolving decoration;
  • Quick installation;
  • No multiplication of holes in the walls;
  • An elegant and discreet rendering;
  • Durable fixing;
  • Easy repositioning of paintings;
  • A solution adapted to interior decoration projects.

It is particularly used in galleries, museums, offices, hotels, shops and homes.

FAQ: Installing a picture rail

Continue reading
All articles
AccrochageVos œuvres se décrochent ? Voici les erreurs à éviter

Vos œuvres se décrochent ? Voici les erreurs à éviter

Sep 15, 2026

Un tableau qui tombe du mur n’est pas toujours le résultat d’une mauvaise fixation. Le problème peut venir du support, du poids de l’œuvre, du crochet, du câble, de l’attache située à l’arrière du ...

Read more

AccrochageSuspension signalétique et PLV : comment améliorer l'affichage en entreprise et en magasin ?

Suspension signalétique et PLV : comment améliorer l'affichage en entreprise et en magasin ?

Sep 14, 2026

Une affiche peut contenir le bon message et pourtant passer inaperçue. Dans un magasin, un client peut ne pas voir une promotion placée trop bas. Dans un showroom, un visiteur peut avoir du mal à i...

Read more

Cimaises &+Échantillon de moulure : pourquoi le tester avant de commander ?

Molding sample: why test it before ordering?

Aug 27, 2026

Choosing a molding, cornice, or dado rail based solely on a photo can be complicated. Two profiles that appear similar on a screen can ultimately have a very different look once integrated into an ...

Read more